Learning about VR and design thinking
This is a guest article about virtual reality workshops and design thinking from Benjamin Dehant.
In this article we will:
- Explore how we can use VR (virtual reality) during the different steps of the design thinking process
- Discuss what does and does not make sense in terms of DT and VR connections
- Teach you how to design a VR workshop using an app called Zoe Immersive
Design Thinking Process & VR
Let’s start by reviewing the 5 steps of the Design Thinking process ( Empathize / Define / Ideate / Prototype / Test ) from a VR use case POV.
In the “Empathize” step, VR could be used to create immersive, interactive experiences that allow designers to better understand the needs and experiences of the end user. For example, VR could be used to create a virtual reality simulation of a person’s home or workspace, which could be explored and studied to gain insights into the user’s daily routines and challenges. You can think of “ Digital twins “ or less realistic VR spaces here.
In the “Ideate” step, VR could be used as a collaborative tool to facilitate brainstorming sessions and idea generation. For example, VR could be used to create a virtual whiteboard or brainstorming space where team members can collaborate in real-time to generate and refine ideas (learn more about this later in the article).
In the “Prototype” and “Test” steps, VR could be used to create immersive, interactive prototypes of the design that can be tested and evaluated by end users. This can provide valuable insights into the user experience and help designers identify areas for improvement.
- a VR prototype for a VR product or service.
- A VR prototype for a IRL service or product.
Overall, VR has the potential to be a valuable tool throughout the design thinking process, providing a unique and immersive way to understand user needs, generate and test design ideas, and create effective solutions.
VR & Design Thinking Limitations
There are some situations in the design thinking process where VR does not really makes sense to use. For example, if you want to write down a lot of ideas, you might prefer pen and paper or a 2D digital whiteboard such as Mural or Miro.
The technology is evolving fast and it’s even possible to mimic a pen with your hands or a VR controller, but I found that it’s harder to use than a real life pen and less fast than a keyboard, not to mention that if you write in VR it can be hard to copy-paste and re-arrange.
One workaround is to brainstorm out loud in VR while recording the session. You could extract the audio transcript and turn it into a text file to be able to capture and re use the ideas later on.

The main takeaway here is that, you should not do VR for the sake of it. Keep in mind that it does not make sense all the time.
How to Run a VR Design Thinking Workshop
VR workshops are a great vector of imagination and creativity. You can easily give life to your ideas using 3D assets and interactions. And there’s no need to be a designer or a developer! Hosting a VR workshops can be done remotely or in person. Participants will be more creative and explain with ease their points of view. So if you want to run an immersive and engaging workshop where participants stay laser focused and unleash their creativity, let’s get started!
Running a successful VR workshop is no small task. You will need to make sure everyone can make the headset work and onboard your participants to be sure they understand how to navigate your space and what you are expecting from them during the session.
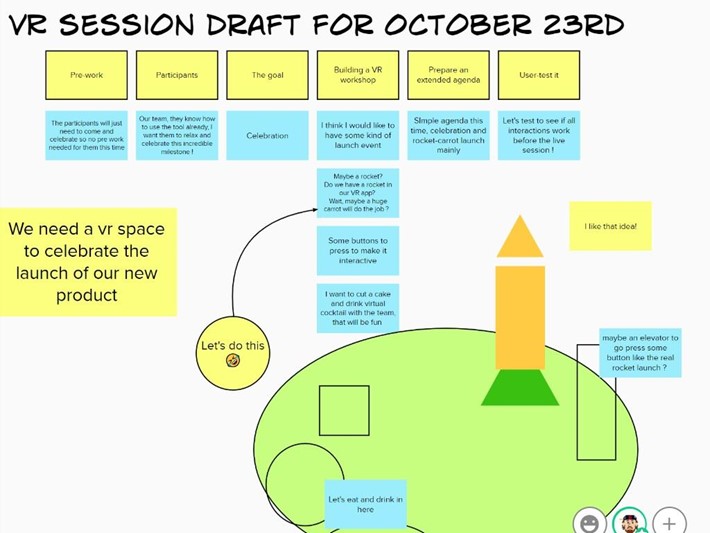
Here is our 6-step formula at Zoe Immersive to create and run a successful VR workshop:
- Pre-work
- Know your participants
- Understand the goal
- Create your workshop space
- Prepare an extended agenda
- User-test it
Learn more about each of these below.
1. Pre-work
Running a VR workshop starts before the actual workshop. The very first thing you should do before even drafting your session is to ask yourself: do you really need to run a VR workshop?
Ask yourself if you need live inputs from other participants and if a 3d experience is needed to achieve the goal of the workshop. If yes, then you might need a VR workshop!
2. Know your participants
Here are some questions you should ask yourself in order to know your participants better.
- Who are they?
- What do they know about the workshop theme?
- What is the value your workshop is going to bring to participants?
- What are their expectations?
- What are their concerns and how can you take care of them?
- What is their level in terms of VR tools and skills?
As a rule of thumb, always keep in mind the human-centered design approach.
3. Understand the goal
Even if VR workshops are fun, we don’t do workshops just for the sake of it. We need a reason to run a VR workshop, and we need a goal. Is it a VR session that aims to be a live interacting lesson for students? Are you going to showcase a 3D prototype to different stakeholders for approval? Spend some time thinking about the goal and understanding what you are hoping to accomplish.
Now that you know what is your goal, you can brainstorm backward the steps you need to create for this goal to happen.
4. Create your workshop space
OK, you’ve made it this far, congratulations! You now know that you need a VR workshop. You learned about your participants and you have a clear goal. Now’s the time to get the work done.
As we all know, it can be hard to stay many hours in a row in VR. We will recommend an approach where you don’t spend all of your time in VR to create your VR workshop.
One of the best practices is to draft your concept on paper, in a design tool, or in a digital whiteboard such as Mural, for example.
Of course, there are some limitations to designing in 2D for a 3D VR workshop but you will be able to get started and quickly sketch different ideas.
You need a title, some kind of instructions, an example so that people can see what you expect from them, and a space for them to execute. At least. that’s how you should do in 2D. For a VR workshop, you might not need to add a title for each step as you will probably be facilitating the session live.
I recommend keeping the “instruction & example” part.
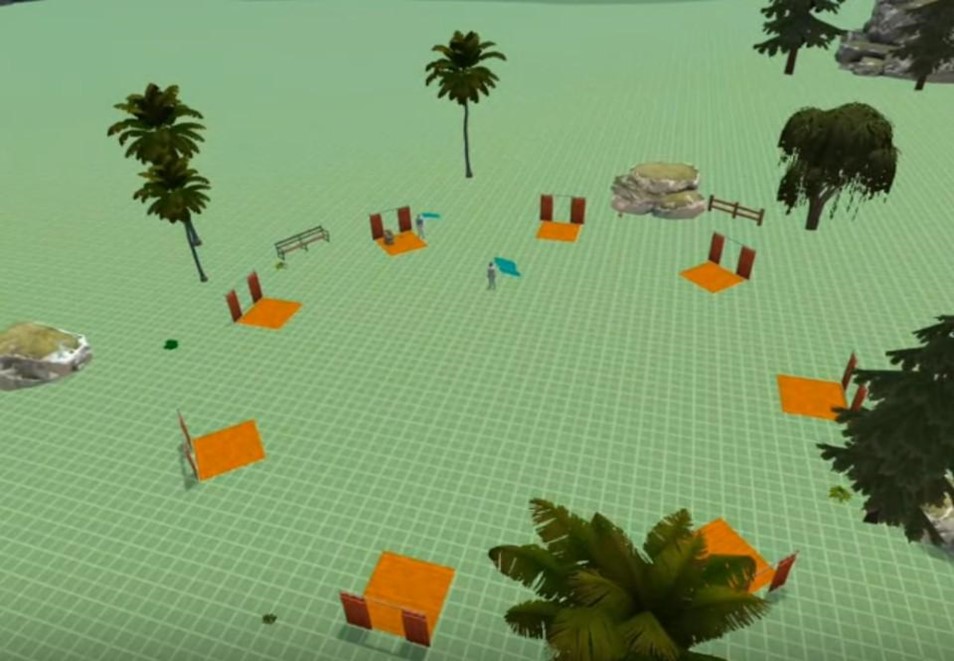
Speaking about empty space, try to let a lot of whitespaces so that you can expand easily if needed.
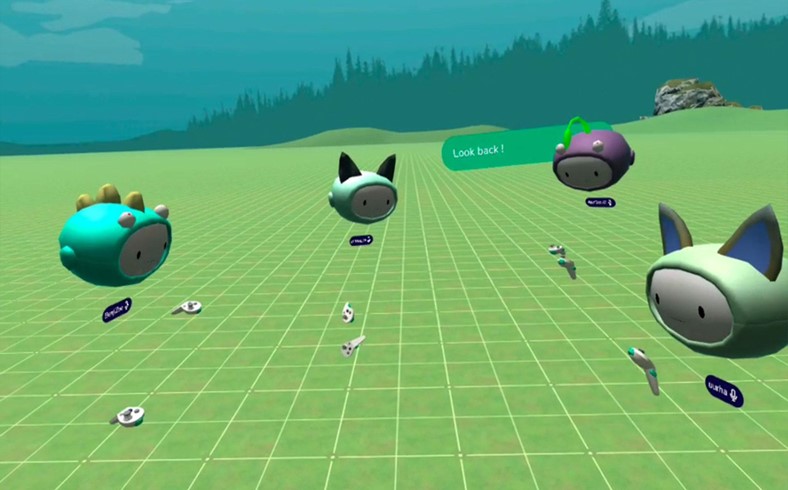
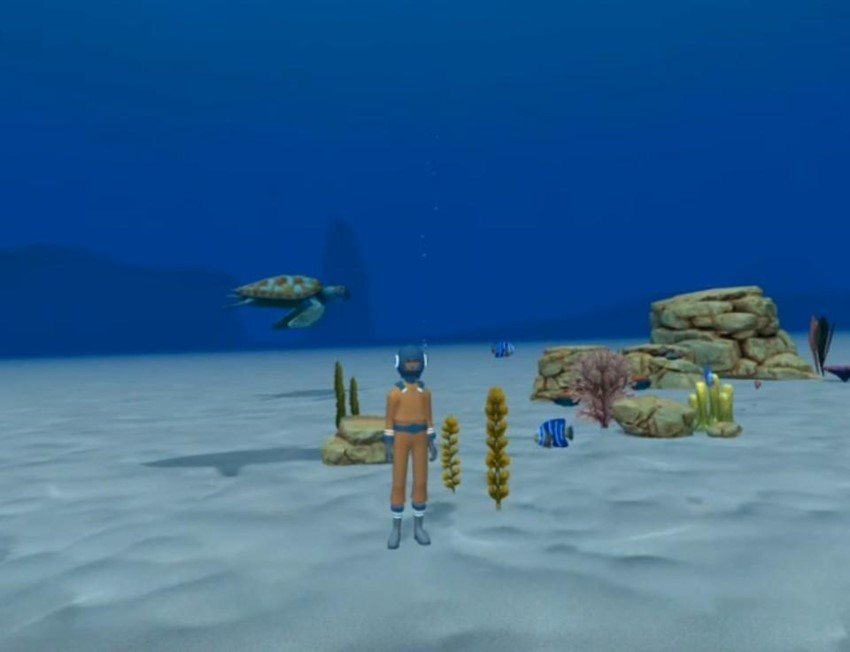
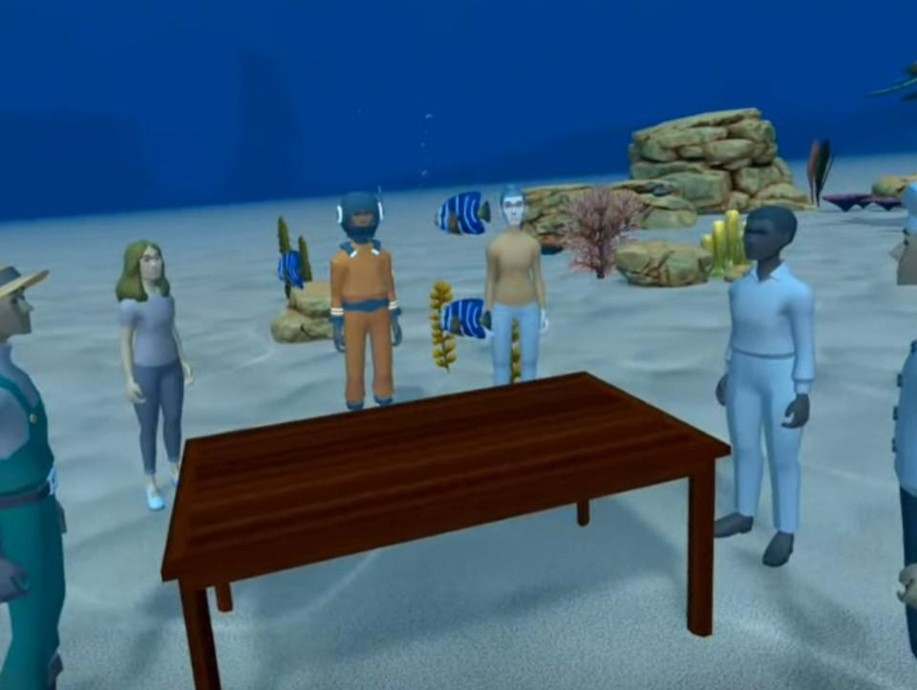
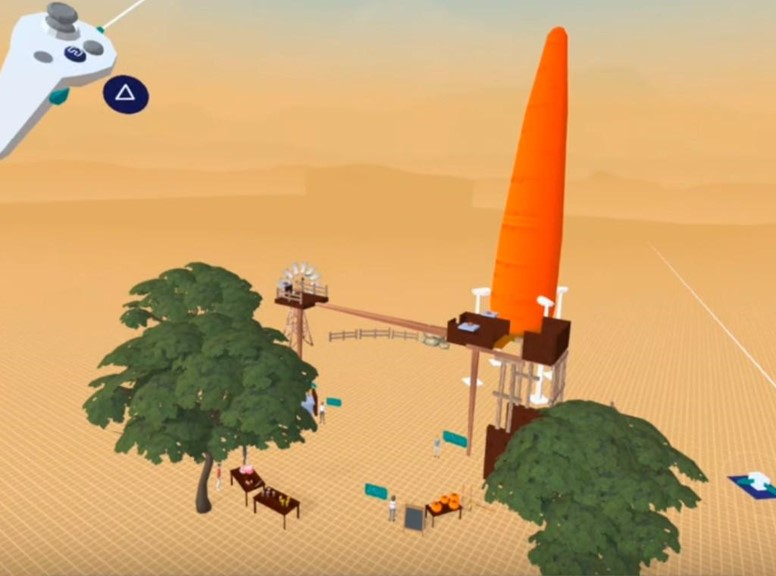
The same advice works for your agenda: try not overloading it in case you need more time for any reason. Keeping the engagement and motivation of participants in a workshop is one of the key elements to a successful workshop. One solution is to add a theme to your workshop, such as “mountains”, “space”, “under the sea”, and so on. Meetings and even workshops are known for being a bit boring, so by adding interactions you will increase your participants’ engagement and hopefully the outcomes of the session as well.
Create Custom Icebreakers and Energizers.
Icebreakers will help your participants get into the session. It could be an opportunity for the facilitator to make sure everyone is comfortable with the tool or to learn something about them that can be useful later on for example.
Once you have a solid start it will be time to jump into the Zoe app. I usually design in VR while sitting on my chair and having my laptop not too far away in case I need to check my notes or write something that comes up while in VR. In Zoe you can be either in Edit mode or in Play mode. You should often switch between them to double-check if what you are building is at a correct size (from the avatar/camera view standpoint) and if the interactions you might create work as expected.

Don’t focus on real-world situations! I want to point out one thing that might be the elephant in the room when it comes to VR workshops: what you should probably avoid is to recreate a real-world situation. I mean, it can be fun but that’s really not the best way to leverage VR tools. You could just plan an in-person event for this.
And I see some of you wondering if with all these fancy elements we might not lose from sight the goal of the session; my answer is no. If you use visual elements wisely, they will support the narrative of your session, increase engagement, and ultimately up your chances of reaching the goal of the session.
5. Prepare an extended agenda
As a facilitator, you should try to prepare your own agenda and make it as detailed as possible. It’s easy to lose track of time and activities while facilitating. Try to keep an eye on the time to see if you are following your timeline or need to speed up or slow down a bit. You will probably have to adjust during the session anyway. I recommend you to put some kind of timer on your laptop or phone with an alarm or maybe just take a look at it from time to time to make sure you are in your timeline.
If you can, try to have a setting with your VR headset, so you can check the timer and your agenda if needed.
6. User-test it
You need to test it and believe me, it will save you some struggles later on. When we develop new products or services we always prototype them, user-test them, and refine them. We are building an experience, a workshop. A moment where people will gather together to do something. It’s important to test your flow to make sure your flow is easy to understand and execute. Usually, in these user tests we discover a couple of mistakes or things that we can improve that will slightly increase your participant experience.
Design Thinking & Workshops in VR Conclusion
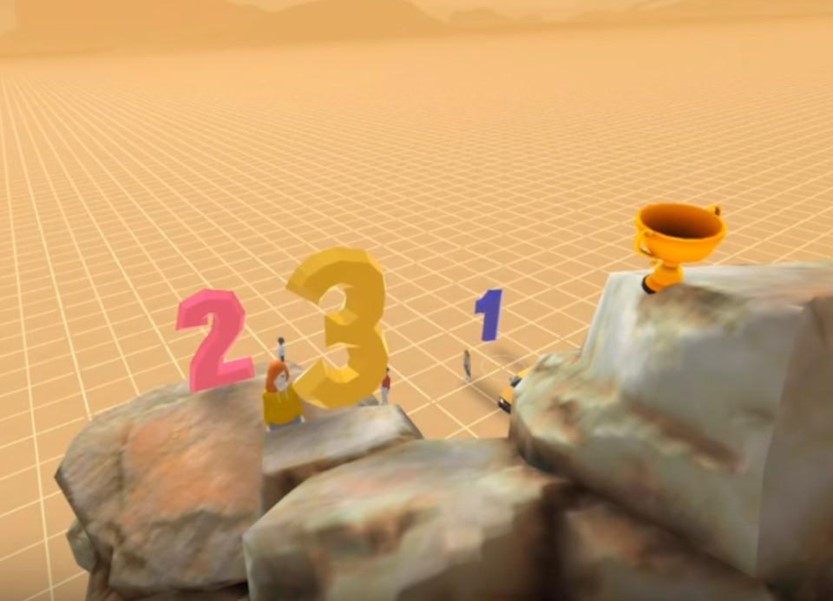
The Zoe app is live, you can use it for free and start building now. Remember that virtual reality is still early and it’s ok to not know everything (no one does)! Your first sessions won’t be perfect but you will learn a lot, quickly, and in no time you’ll be able to run engaging and immersive VR meetings. You can also try playing with some of the templates we created for you such as the Visual Charade, for example.
About the Author
This is a guest article about virtual reality workshops and design thinking from Benjamin Dehant. Benjamin is someone who “goes first” to tinker and experiment with the newest trending technologies. He learns them, shares what he is learning, and applies them as a visual designer in unique ways. Whether it is Web3, NFTs, AR, VR, AI, etc. he tries to understand them, share what he is experimenting with, and ultimately makes something out of it. He is an innovator helping the early adopters gain awareness of and understanding to get started applying new and promising technologies.