Are you interested in learning about the steps of design thinking so you can take action on applying the process? What is design thinking? Design thinking is a popular approach to getting started with innovation that begins with empathy and understanding the needs of your users or customers. It’s a human-centered creative problem solving approach with a series of stages that you work through, while applying design thinking mindsets like having a bias to action, prototyping toward a solution, and focusing on human values.
Steps in the Design Thinking Process
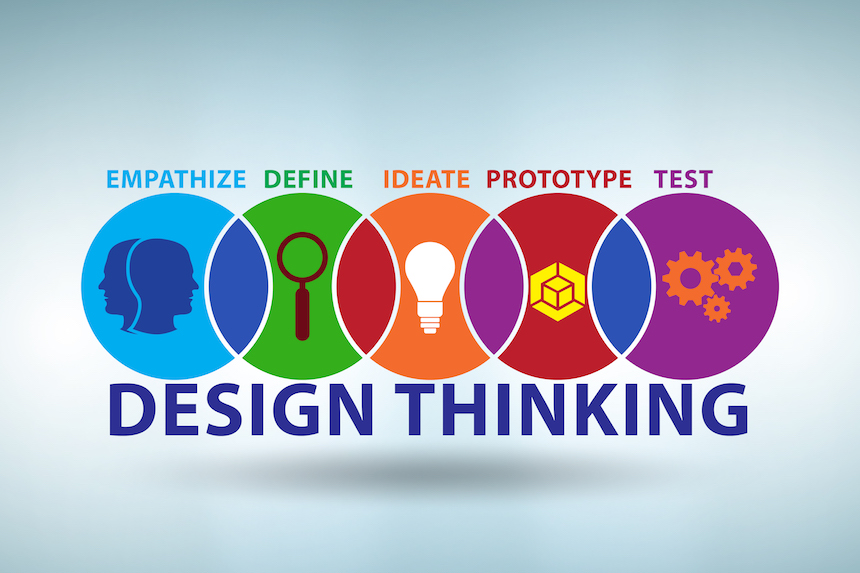
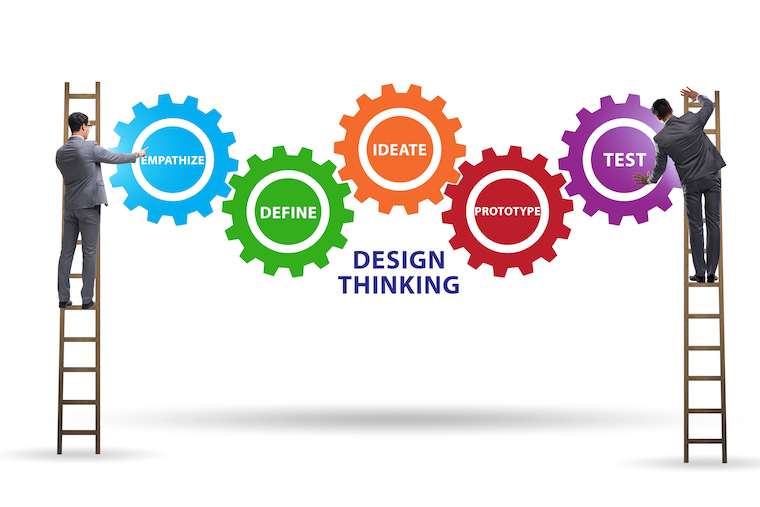
There are many frameworks or processes for design thinking that are used today. Some examples include the Double Diamond design process model popular in the UX world, or the human-centered design “Inspiration-Ideation-Implementation” approach from IDEO. We have developed the 7 step Innovation Step-by-Step design thinking process that we use in design thinking workshops, design sprints, or other short term sessions. In this article though, we will focus on one of the most widely adopted design thinking models from Stanford. In this model, the Stanford d.School identifies the stages of the design thinking process as follows:
- Empathize
- Define
- Ideate
- Prototype
- Test
Below, we will describe the steps in design thinking so you can better understand how we practice it and implement the approach step-by-step. This is a powerful human-centered innovation approach. Here are the 5 main steps of the design thinking process.
Design Thinking Step One: Empathy

The first step to the design thinking process begins with the humans (your customers, users, or stakeholders) you want to design for and help with your solution. Remember, this is a human-centered design process. You can interview, observe them, or use other methods to gain a deeper understanding of their experience and evidence for what they really need, instead of just guessing. I like to look at original emails, chats, or even listen in on a social media group they are a part of to gain empathy, learn about them, and understand the problems they have or opportunities they seek. So, if you are working on innovating a business software you offer, you’d first identify who the user or customers would be. Perhaps you already have a customer or user list to easily reach them. You can even segment your users more specifically into user personas and create a journey map to show the journey they may take with your software or the steps they take to solve a problem that is important to them (that your software may help with). If you are working on a digital transformation you may just ask them how they’d like to do what they do digitally, online, or with an app for instance. Perhaps they can even show you examples of how they do what they do or would like to do it in the new and better way that could leverage the power of digital.
Design Thinking Step Two: Define

From your empathy or understanding of who you are designing for, you should be able to define the problem(s) and focus on a challenge to work on for them – or ideally even with them. You can even frame how you define the problem as a “How Might We” question which is a popular format in the design thinking world. Once you have a better understanding of this problem, you can later begin to brainstorm solutions and test those solutions in action. We like to diverge to create a number of questions based on what we’ve learned and then converge to focus in on the top question to begin with. In design thinking you do a lot of diverging and converging…zooming out and zooming in.
Design Thinking Step Three: Ideation and Brainstorming

From here you’ll generate ideas…lots of them. I like to actually do this in a co-creation fashion with the customer or user. You may have already heard some ideas for what they’d like for you to build during your interviews or observations. You can also use a number of tools and techniques to generate hundreds of ideas stimulated by the questions you created in step two. You can generate ideas in a number of ways, both individually, in pairs (even with a customer), and as a team (or even a group of users) with solid rules for brainstorming to help you generate more and better ideas. After you’ve created a number of ideas and conceptualized some of the best from your analysis and synthesis of them, you can create some rough, low-fidelity, or rapid prototypes that will give you something to show to them that is visual, physical, and even something they might interact with.
Design Thinking Step Four: Prototyping

Your prototypes can be quite rough at an early stage. The first prototypes are made with basic materials, or digitally with what applications you’ve got on your mobile phone or computer. The goal is to be able to make something you can show to be able to learn, get feedback, and see how your user might interact with it. You will take what you’ve learned from them to iterate a new and better version that you may develop more. You don’t want to spend a lot of time making something that isn’t needed. Fail early in a low risk/low investment way. For example, if the solution is a mobile app, you don’t need to code the app until you validate its actually what your users need. This first prototype can be a wire-frame you sketch out on a note card or piece of paper. It can also be something digital and more visual you make that the user can click through in PowerPoint, keynote, or another rapid prototyping or design software to advance the screens like they would on the app. If you are working on a digital transformation and prototyping a new online course you’ve learned your users could benefit from, you wouldn’t build the whole course. Perhaps start with just a course title and description with 3 bullet points. Add an image. Put it on a page on your website or in a social media post. To develop it further create a 2 minute video you make on your phone to add to it. Use the digital tools we have at our fingertips to show it. Make and validate as you go and share with your customers/users.
Design Thinking Step Five: Testing

Having a digital or physical prototype allows you to learn, gain insight, and have a conversation. It also allows you to test your prototype on the actual users who will use it or become customers to determine how you might move forward. Be open for feedback and significant changes to zero-in on what they need. Remember, you are designing for them and not you. See how they engage with your prototype or might use it. How do they speak about it? You can even learn the specific words they’d like for you to use to make it clear. During the process, be sure to pick up on how they might refer to things or what they’d call your solution, such as an app name or feature of the app.
From these tests, you’ll be able to determine if you are on the right track or how to change the solution you are creating to better fit what they need and tailor the design of your solution to them (instead of to you!). You may even start out thinking you need to build a mobile app but find out when you test your prototype that the solution should take a different form to be what your user needs. You’ll know what they need and want because you are engaging them in the design thinking process to co-create with you. The purpose here is to not sell what you created to them but to learn.
In some instances though, your rough, low-fidelity prototype may hit the target and they ask how they can buy it! With a digital transformation project of creating an online course on a specific topic you used to teach in-person, the user you are prototyping with may want to register just from seeing the prototype or purchase the course before it is even developed as a pre-sale. This can be quite validating when you “sell it before you build it” when your intention isn’t to sell. People want to buy it because it is a solution they need. Something like this can be more easily done if the prototype is a simple page on a website with an online course title, description, image, and basic video where you show what the course might be like and what they can learn.
Steps to Design Thinking in Workshops & Sessions
Many teams will do a design thinking project over the course of months or an ongoing basis. Our favorite approach is to create design thinking workshops and facilitate them for specific purposes organizations have validated are important and run them in a design sprint format which may only last 1-2 days. The design thinking workshop will guide co-creators through the key stages of design thinking applied for a specific purpose and catalyzed into action.
These stages include:
- Diverging to gain empathy through interviews and finding evidence from their users
- Converging to focus what they learned to define the problem or challenge in specific questions
- Engaging individuals and teams to generate many ideas to analyze, synthesize, and visualize
- Building rough prototypes to make their best concepts more physical, understandable, and engaging,
- Testing the prototype they are zeroing in on with customers or users to determine the next iteration or even minimum viable product.
The above stages are based on the Stanford d.School steps of design thinking. This is one of the most popular approaches. There are even simpler approaches like the Double Diamond or Inspiration-Ideation-Implementation that are great for ongoing projects. We like to teach a synthesis of the most popular design thinking frameworks for a general ongoing application of this human-centered design process. We’ve also developed a design thinking step-by-step process for short term applications…such as a half-day workshop. This is called Innovation Step-by-Step.
If you are interested in learning more or getting help developing a custom design thinking or innovation workshop for your organization, contact us today online to learn how to get started.